How I plan a jewellery photoshoot
I'm planning two photoshoots for next month, one for an independent family-run jewellery brand and one for my luxury jewellery platform The Cut London. I approach both shoots the same way, following clear steps to make sure I get the absolute maximum out of the precious shoot day. Hiring a jewellery photographer and studio is not cheap, so it’s important to get the best and most useful shots possible.
Here is my step-by-step process before shoot day.
STEP ONE: CONSIDER WHERE THE SHOTS WILL BE USED
This is the first question I ask a brand before starting any research. Product shots, web shots, instagram shots or white background shots all require different processes and planning. The shoots I’m organising are both for website use, with the family-run jewellery business using the shots both on their website and on instagram. For website shots it’s important to think about exact where they’ll be used on the website, and what the purpose if for each image. For example, are they landing page shots, used to create impact and a strong first impression?
STEP TWO: HOW DO I CONVEY MY BRAND VALUES VISUALLY?
This requires a deep understanding of the jewellery brand, the target customer, and what I want to convey to them. Whether you’re shooting a summer campaign or evergreen content for your website, the style, aesthetic and quality should all be in-line with your brand, and should be speaking to your target customer in a way that appeals to them. For example, if you are a fun, young, fresh jewellery business selling pieces under £300 to design-loving millennials, all your photographic output needs to reflect this, whatever the type of content or occasion you’re shooting for.
STEP THREE: WHAT MOOD DO I WANT TO CREATE WITH THE SHOOT?
It is crucial to align your brand values with the tone of your upcoming shoot, so considering what mood you want to create with your shoot is useful. Do you want it to feel serious, arty and minimal? Or is it wild, sexy and exciting? Is the shoot for use in the pre-Christmas run-up, or is it for your new summer collection? Always keep your brand values and target customer in the forefront of your mind when planning this - I usually keep a visual mood-board pinned to my desk to remind me.
STEP FOUR: START A BOARD ON PINTEREST
Pinterest is my favourite tool for online visual research; I search specifically for individual set-ups I find inspiring as well as overall mood for the finished mood board.
STEP FIVE: PLAN THE DETAILS
Research props, clothing, backgrounds and lighting techniques. These all fall under 'mood' as well, but it's now time to get specific. Everything needs to be in-line with the brand and its target customer.
STEP SIX: CREATE A SHOT LIST
This is crucial to making sure the limited time you have a shoot is used efficiently. If you need a shot for every product category for example, make sure you know what those categories are and that you'll be shooting in the right orientation (portrait or landscape).
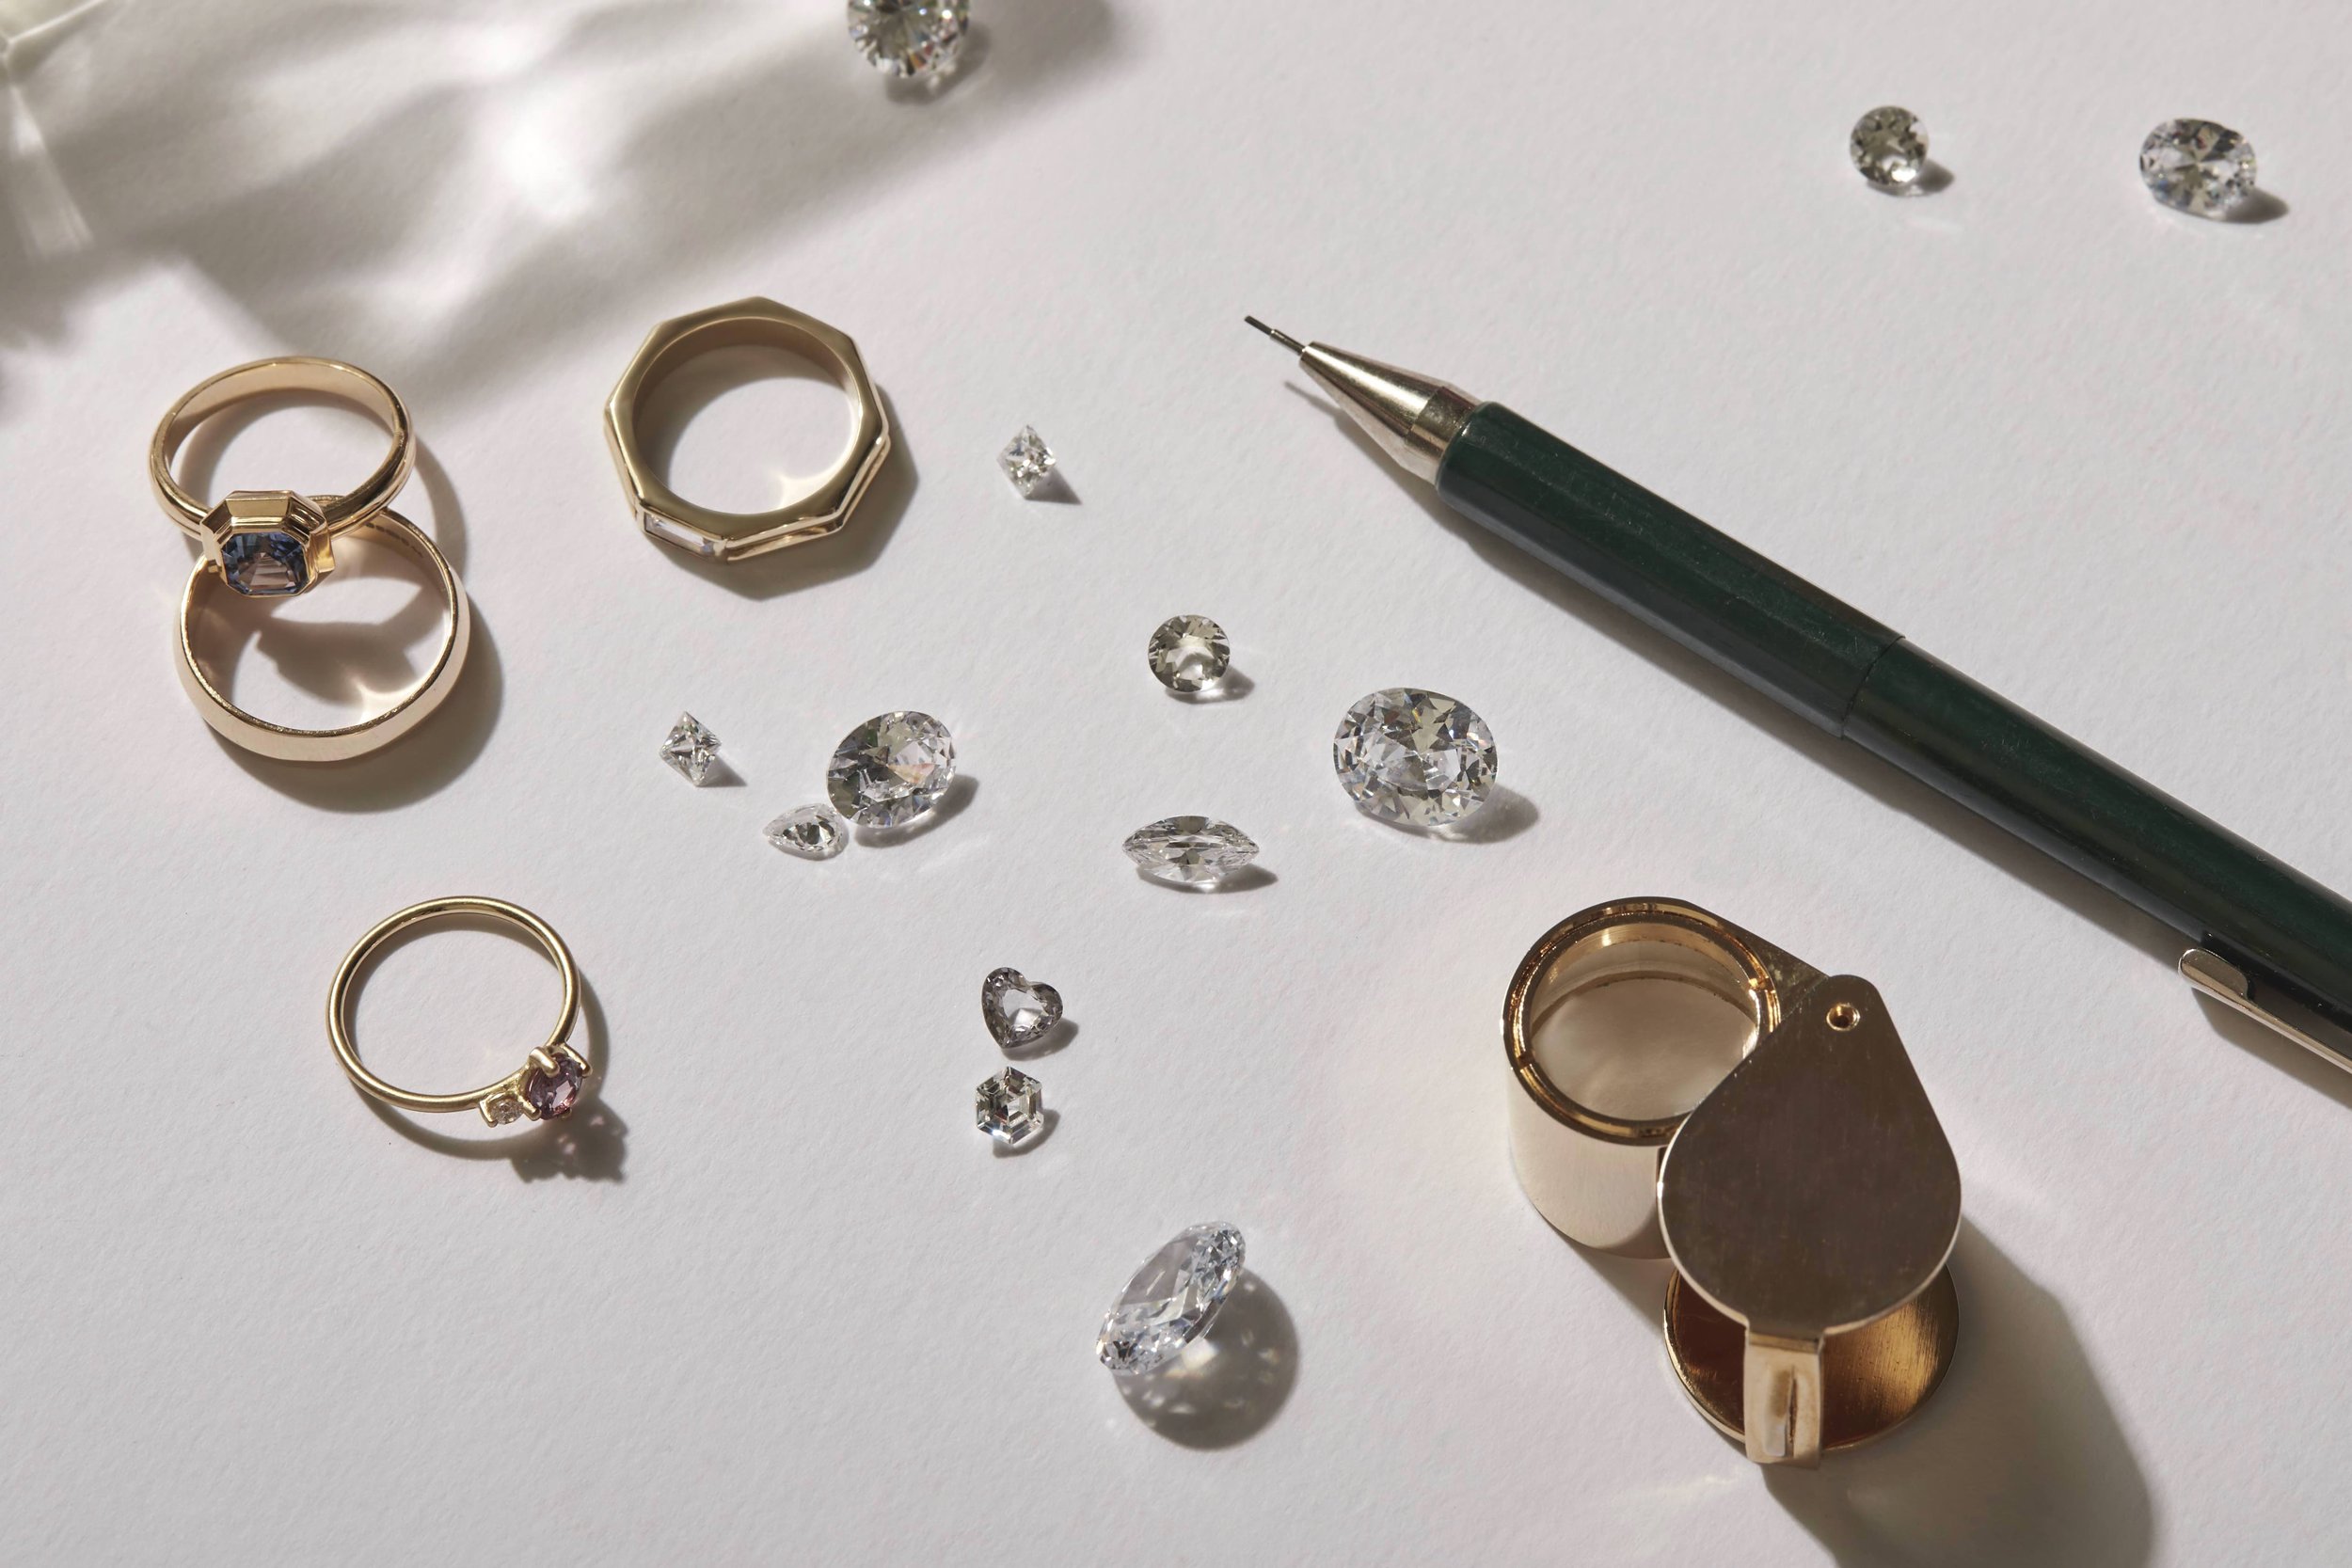
Don’t forget to include all the ‘extra’ shots you could get on the day - loose diamonds, a quick portrait of you, a ring box, etc. These are helpful place fillers for websites and insta posts.
It’s helpful to have all these details considered before you speak to a photographer - coming to them with a plan makes you a) a dream client and b) makes sure you don’t get swept up in their vision of your brand.
I’ve compiled a list of trusted, brilliant photographers available to all GoldDust Collective members.


